Oct 8, 2026Buying Guides
A Cabinet Hardware Refresh: Planning Size, Finish and Mix
Plan a cohesive cabinet hardware refresh across your kitchen or home by coordinating hole spacing, choosing a unified finish family, and balancing pulls with matching knobs.
Replacing cabinet hardware across an entire kitchen, pantry run, or wall of built-in cabinetry is one of the most effective ways to update a room, but it quickly introduces layout decisions that go beyond swapping a single broken handle. When you move from updating one drawer to outfitting dozens of doors, shallow utensil drawers, deep storage pull-outs, and integrated appliances, hardware stops being an afterthought and becomes a comprehensive visual system.
A successful room-wide refresh rests on three connected decisions: matching hardware dimensions to your existing cabinet fronts, selecting a cohesive finish family, and balancing the functional mix between pulls and knobs. Planning these details together before ordering helps you avoid misaligned screw holes, inconsistent metal tones, and mismatched proportions across your cabinetry.
Surveying Existing Cabinet Fronts and Hole Counts
Before browsing hardware designs, conduct a systematic survey of every cabinet door and drawer in the space. Start by counting the mounting holes on each front. Single-hole fronts accommodate knobs, whereas two-hole fronts are built for cabinet pulls. Knowing your total count of single-hole and two-hole openings establishes your baseline shopping list and highlights whether any fronts will require modification.
On existing two-hole fronts, noting the exact mounting span between holes helps your new pulls line up with the existing holes without filling or drilling into finished millwork. Hole spacing is measured from the center of one screw hole to the center of the other, and a dedicated measurement guide covers that step-by-step method. Grouping your inventory by cabinet type—such as upper wall cabinets, base doors, standard drawers, and deep pot drawers—gives you a clear framework for assigning sizes and styles.
Planning Pull Sizes Across Different Drawer Banks
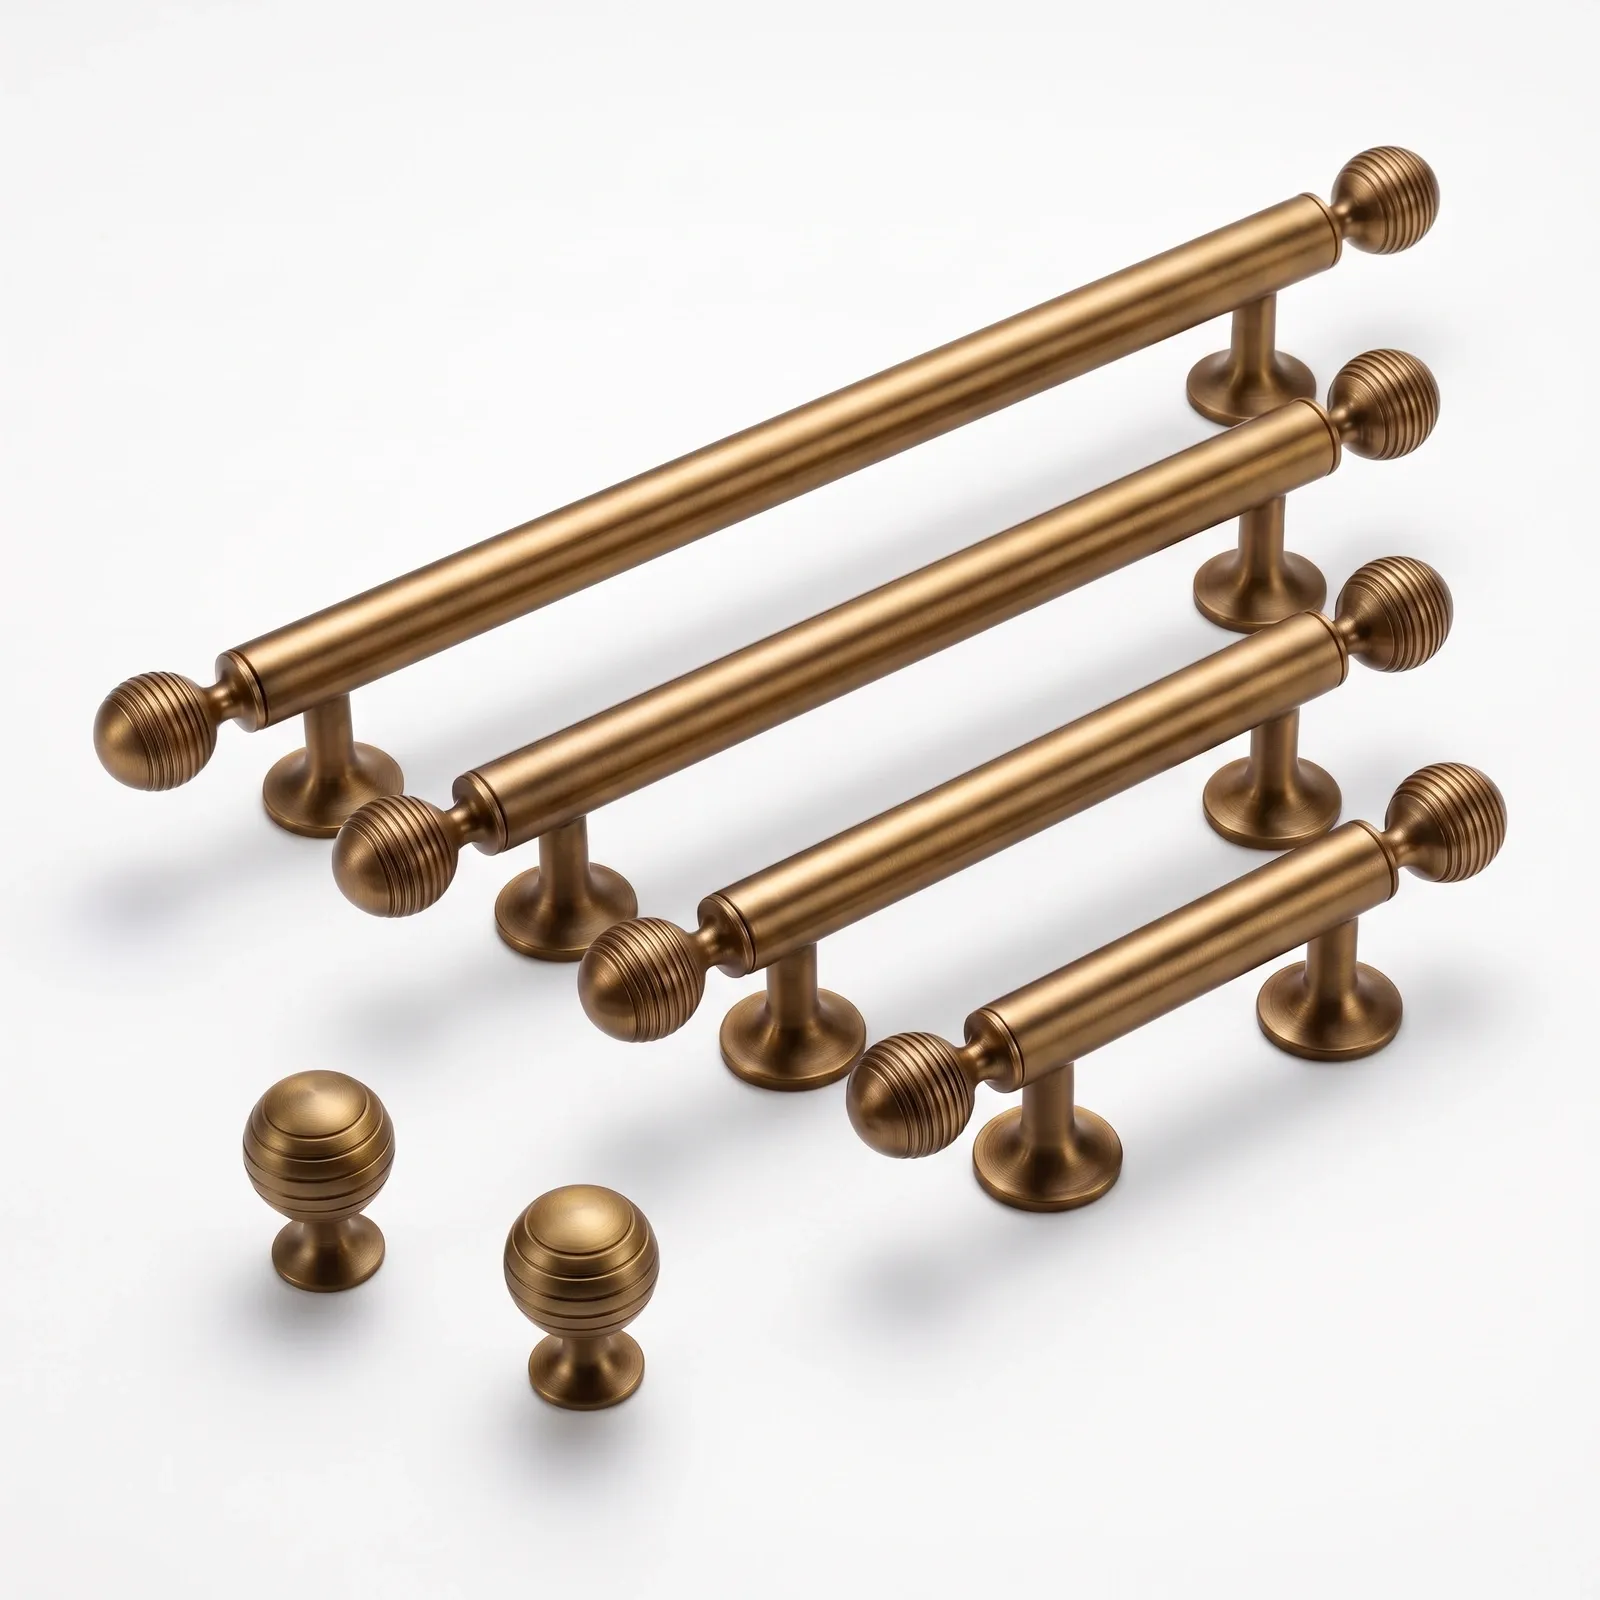
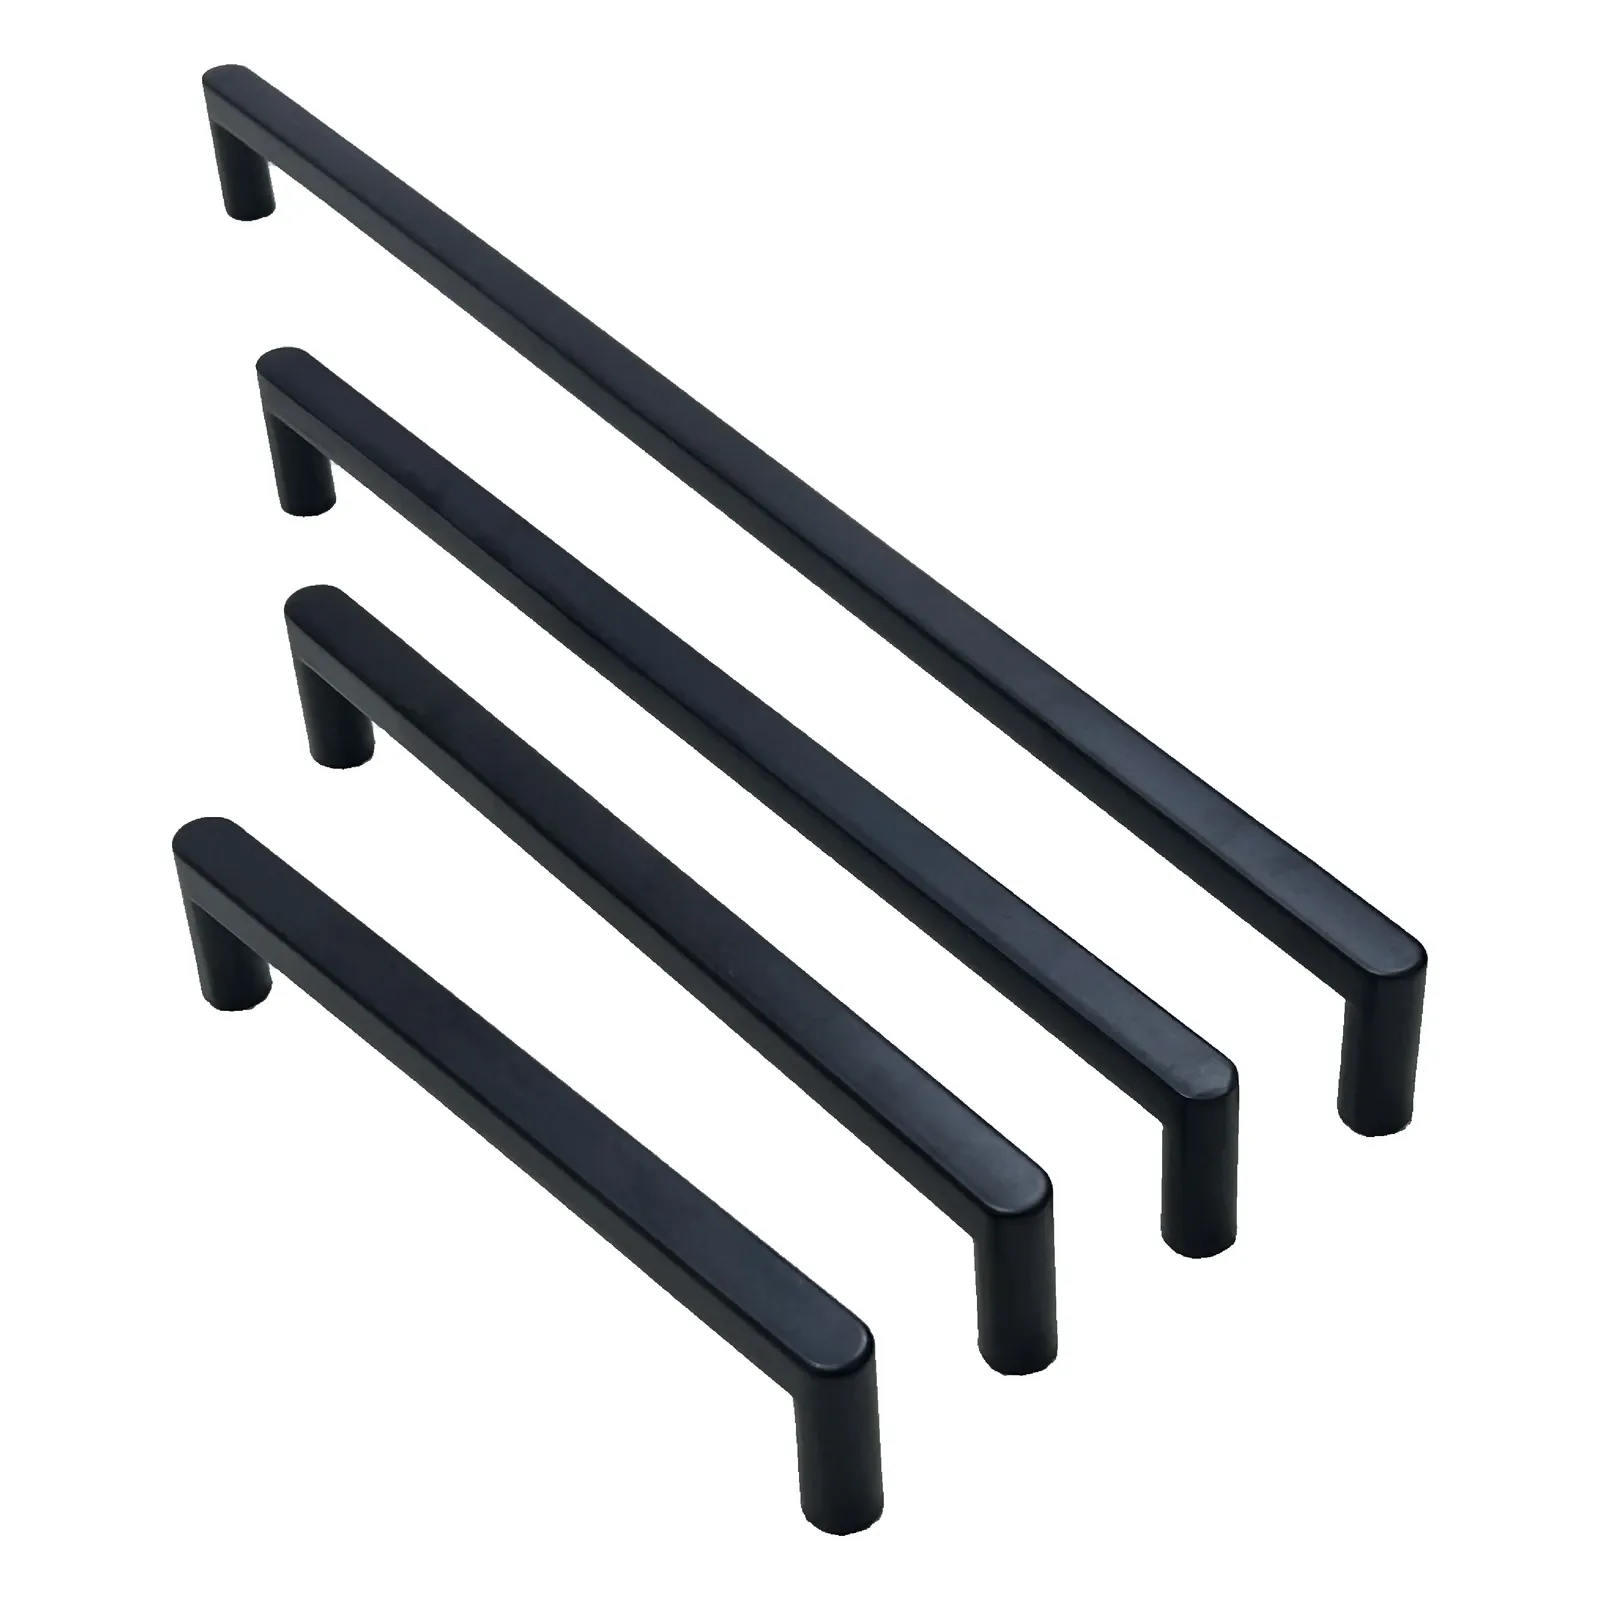
Rather than installing a single pull length across every front in a room, hardware looks most intentional when sized in proportion to each drawer or door. Across the collection, standard pulls are offered in a wide ladder of spans, with the common rungs recurring at 96 mm, 128 mm, 160 mm and 192 mm and the longest standard pulls reaching 320 mm. This consistency allows you to vary pull lengths while maintaining a unified handle style across the room.
On a standard three-drawer base bank, stepped sizing creates a balanced visual hierarchy. You can install a compact 96 mm or 128 mm pull on a shallow top cutlery drawer, then step up to a 160 mm or 192 mm pull on deeper lower drawers that store cookware. For compact specialty fronts, small 64 mm edge pulls provide a minimal footprint, while full-height pantry doors and integrated panels call for 457 mm appliance pulls or extended profile pulls reaching 480 mm to 780 mm for comfortable leverage.
Managing the Uncertainty of a Whole-Room Swap
Standing in a kitchen full of open doors and a notebook full of dimensions, the hardest part is wondering whether the finishes and proportions will look unified once everything is installed.
That hesitation is common when coordinating multiple cabinet runs, but establishing clear design boundaries resolves the uncertainty. When you anchor your project to one metal family and stick to established spacing tiers, every piece arrives with a defined role and location.
Selecting and Coordinating a Single Finish Family
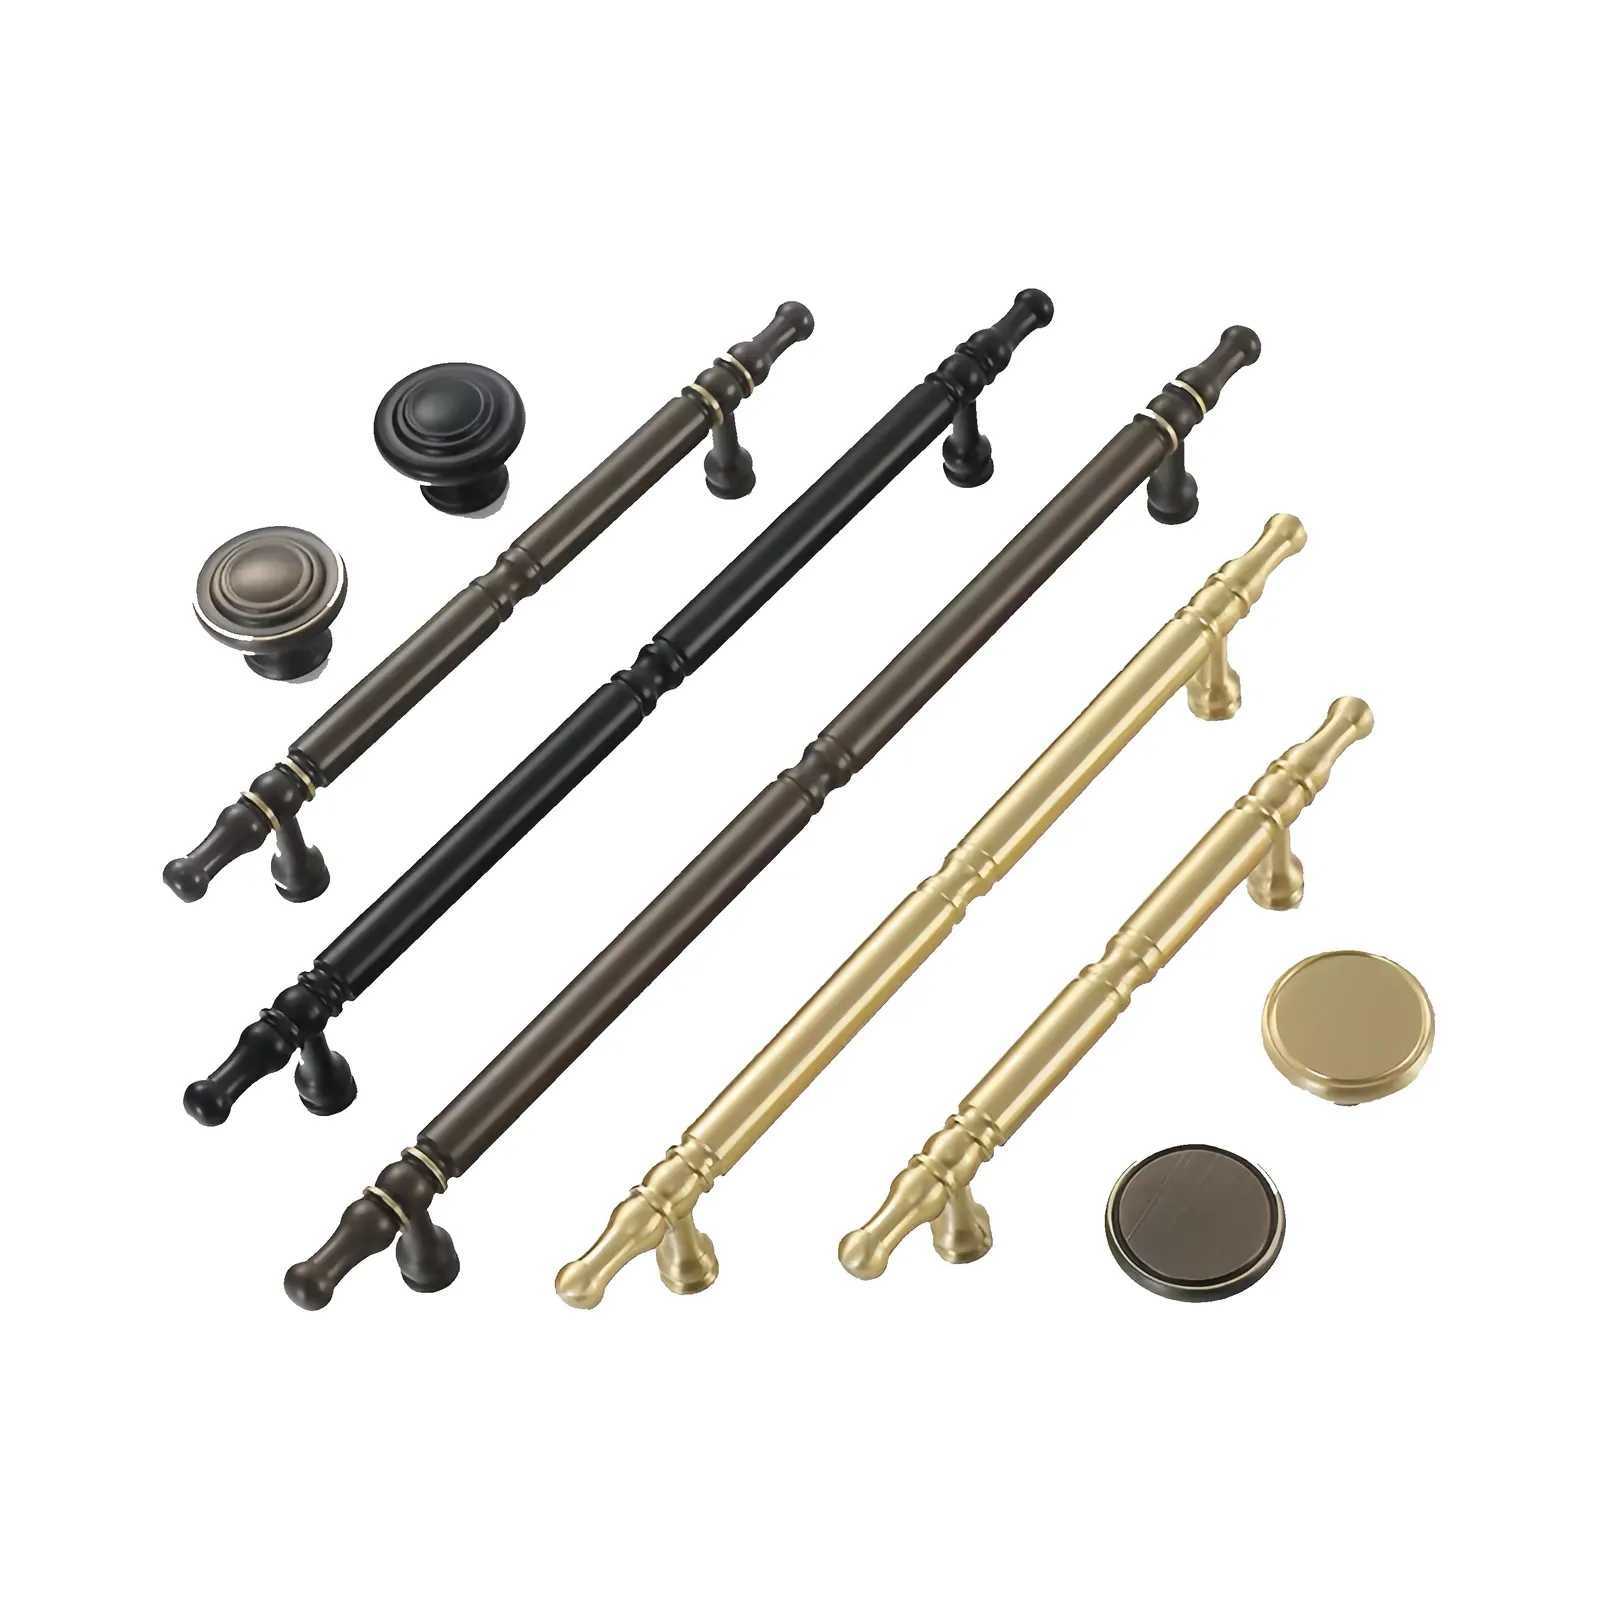
Cohesion across a room depends on selecting one metal family and carrying it consistently across pulls, knobs, and nearby architectural hardware. Finishes in the catalog include Matt Black, Brass Gold, Champagne Gold, Satin Nickel, Brushed Gold, Coffee, Dark Gray, and Oil-Rubbed Bronze. Because these finish names repeat across cabinet pulls, knobs, door levers, and door stops, you can coordinate both cabinetry and room entry doors without clashing undertones.
Matt Black and warm Brass Gold are two widespread directions for whole-room updates. Matt Black provides crisp graphic contrast against painted and wood fronts, while Brass Gold adds warm, reflective tone across contemporary and traditional settings. Base materials support these appearances, with zinc alloy and brass serving as the primary metal families across standard pulls and knobs, aluminum providing sleek profiles, and stainless steel delivering robust appliance-scale hardware.
Balancing the Functional Mix of Pulls and Knobs
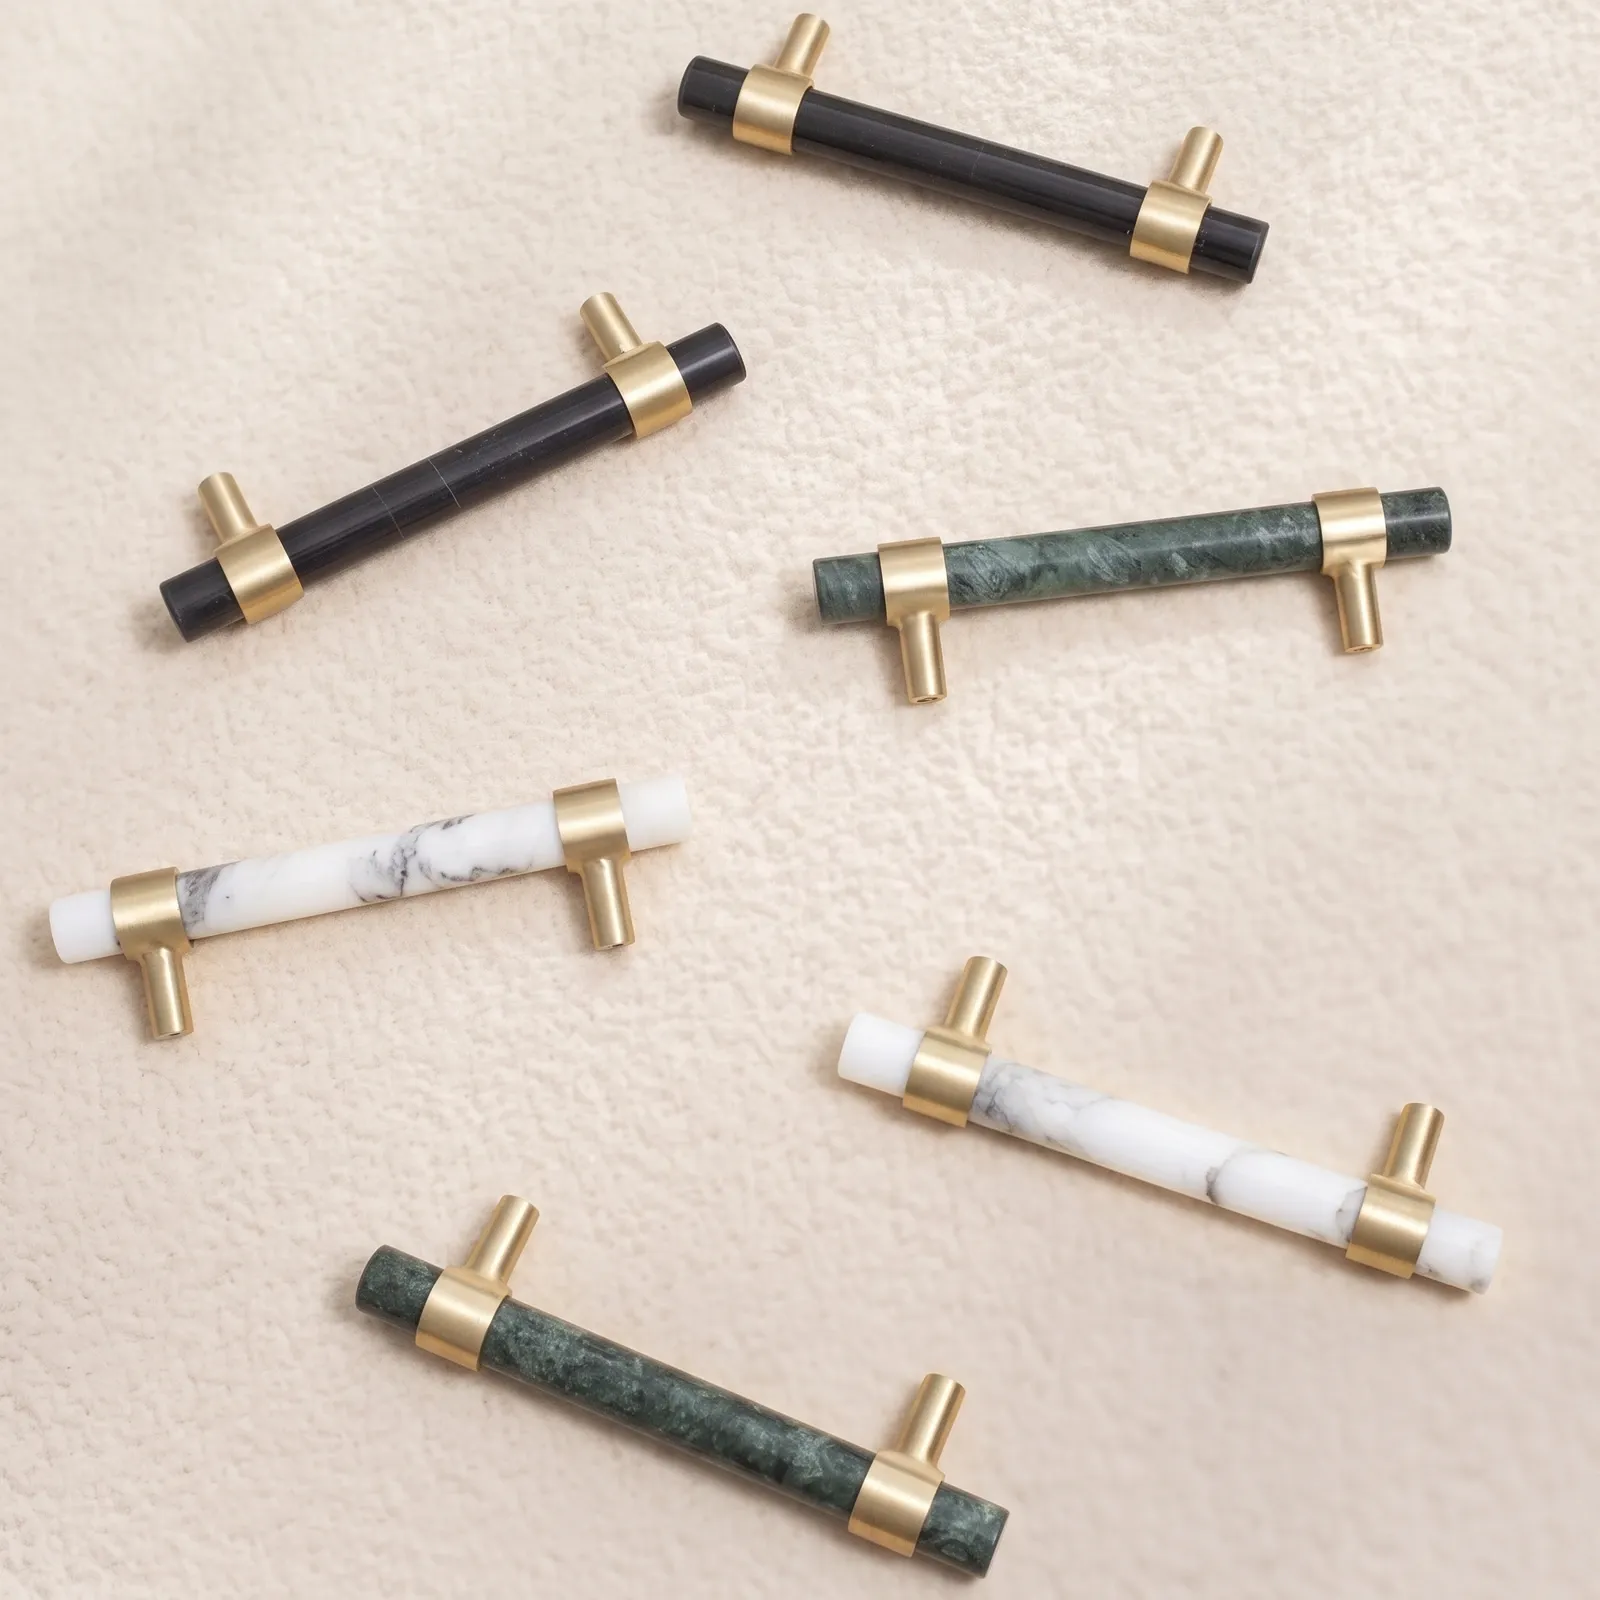
Deciding where to place pulls versus knobs comes down to front weight, frequency of use, and visual balance. Two-point pulls offer greater grip surface, making them ideal for heavy pan drawers, pull-out trash bins, and tall pantry doors that encounter daily resistance. Single-point knobs, available in round, square, T-shaped, marble, and crystal styles, offer a lighter touch for upper wall cabinet doors and shallow vanity drawers.
To maintain visual cohesion when mixing hardware types, consider matched pull-and-knob sets. Several hardware lines offer pull-and-knob sets that carry one finish and family character across a two-point bar pull and a single-point knob. Installing a pull on a drawer and a matching knob on an adjacent cupboard door keeps the aesthetic unified while tailoring each piece to its mechanical task.
Staging the Installation in Manageable Phases
A whole-house or multi-run kitchen refresh does not need to happen all at once. Staging your installation by room or cabinet bank lets you verify your choices before committing across every opening in the room. Starting with a self-contained zone, such as a kitchen island, wet bar, or bathroom vanity, gives you an immediate view of how your chosen finish interacts with your countertop, lighting, and paint colors.
Testing a sample pull and knob on a single drawer and door front also confirms hand clearance, projection depth, and clearance around corner cabinets and neighboring appliances. Once you confirm the feel and spacing on your test front, you can proceed across the remaining cabinetry runs with complete confidence.
Maintaining Finishes Across a Multi-Piece Run
Once your hardware is installed, maintaining an even appearance across dozens of handles requires straightforward, routine care. Keep hardware dry by wiping surfaces with a soft, damp cloth and mild soap in water to lift everyday grease and fingerprints, then dry the metal promptly with a clean cloth.
Avoid abrasive scrubbing pads, scouring powders, and harsh or acidic cleaners that can alter metal surfaces over time. When caring for matched sets that include both pulls and knobs, clean both pieces on the same schedule so the finish wears evenly across high-traffic drawers and seldom-used upper cabinets alike.
Bringing Your Hardware Plan to Life
A well-planned cabinet hardware refresh transforms cabinetry from a collection of separate doors and drawers into a harmonious, functional interior. By taking an accurate inventory of hole counts, stepping your pull lengths by drawer depth, selecting a unified finish family, and pairing pulls with matching knobs, you create a tailored look that feels cohesive throughout the home. Explore the Brassera catalog of cabinet pulls, knobs, and door hardware to select the profiles, spans, and finishes for your upcoming project.